
I have been dreaming about an upholstered bed from Restoration Hardware for the past 6 months and Monday I found out you can actually build one. The bed of my dreams at Restoration Hardware pushes the $2000 mark, but we spent under $400 to make it ourselves. The plans we followed used a cheaper wood and estimated $300 for the entire project (upholstery included), but Andrew being the engineer he is opted for the slightly more expensive wood. I am really glad he did too, it really makes a difference in how solid the bed looks & feels. The fabric we used is the most amazing linen. I am obsessed with this fabric. We purchased all the fabric and foam/batting from Joanns. My awesome MIL sent us a bajillion coupons so we saved over $100 on fabric. It tooks us 3 days to finish -a day longer than expected. We both agree the easiest part was the wood work. Granted, I did not participate in that part of the project so ill take his word for it :). Andrew is the bomb.com, he did not complain at all and worked like a little worker bee to get it all done for me. The upholstery was difficult at first because I kind of learned as I went. I left all the corners for last because I didn't know what to do with them. I should mention measuring is super important. We did not have any errors but I kept emphasizing how I wanted to bed to have a couple more inches of room underneath than our last bed. What I did not realize is that our mattress would also raise in height. When we put our box spring and mattress on we laughed a little because it was a bit taller than we expected. At first I thought I would need a running start to jump into bed, but its not bad after we put everything together. Its super nice. We both really love how everything turned out. I am pretty excited that I have left over fabric too... pillows!
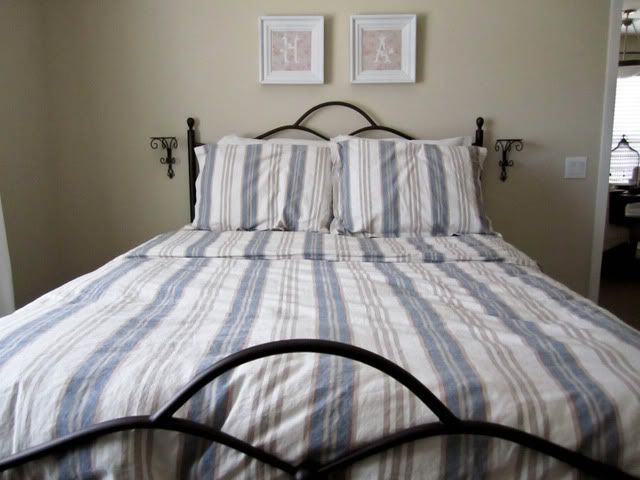
Before: Can you say cluttered?! I don't know what I was thinking...
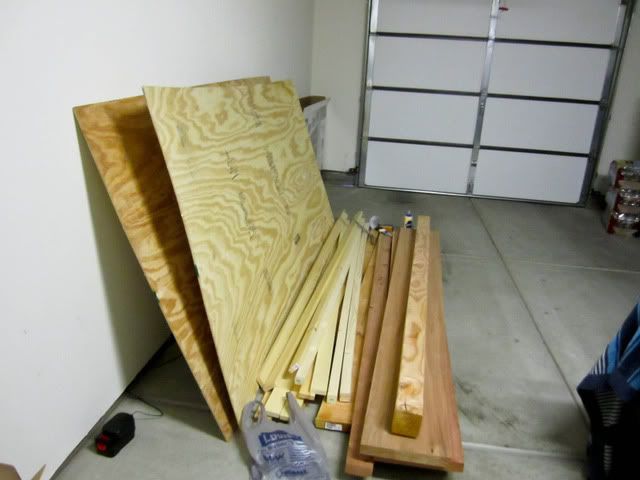
The Supplies
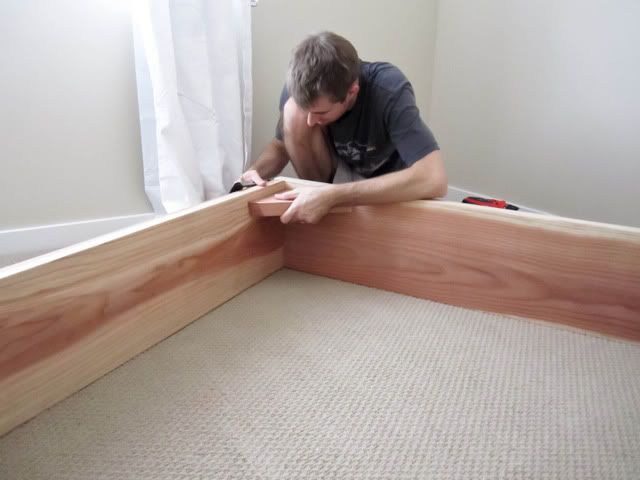 Making the support triangles for the legs
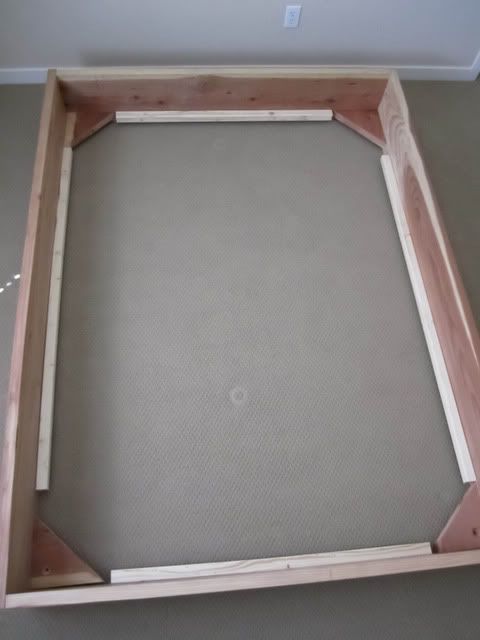 Box spring/mattress support. We have support in the middle as well, but I didnt take a picture.
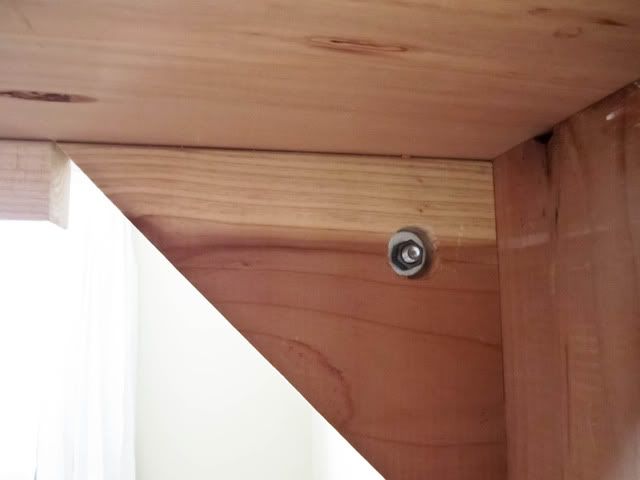 How we attached the legs
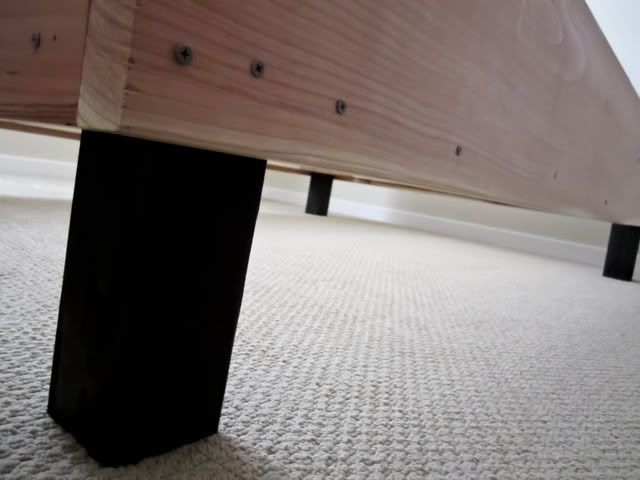 We could not find pre-made legs anywhere so we built and stained them ourself.
 The headboard. I forgot to take pictures of the foam and batting stages after this. The plans we followed only attached foam to the front surface, but we attacehd it on the top and sides of the headboard as well. I found our way better because you dont get bumps around the edges after you pull the fabric, which I was super obsessed with making sure that did not happen.
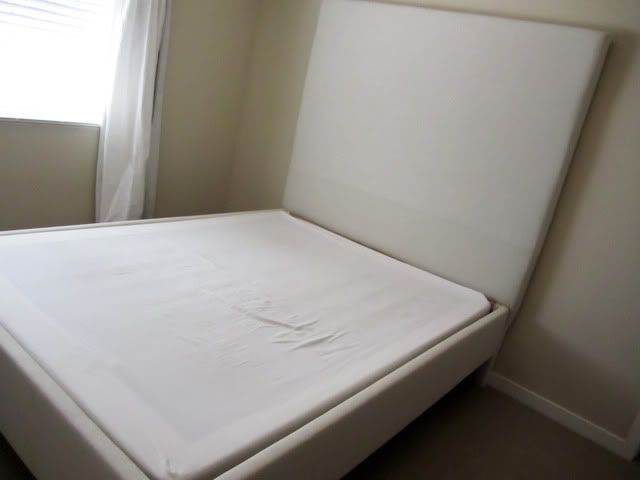 It was the best feeling when we put the box spring in and it actually fit.
Finished!
Totally excited about our new bed.
No comments:
Post a Comment